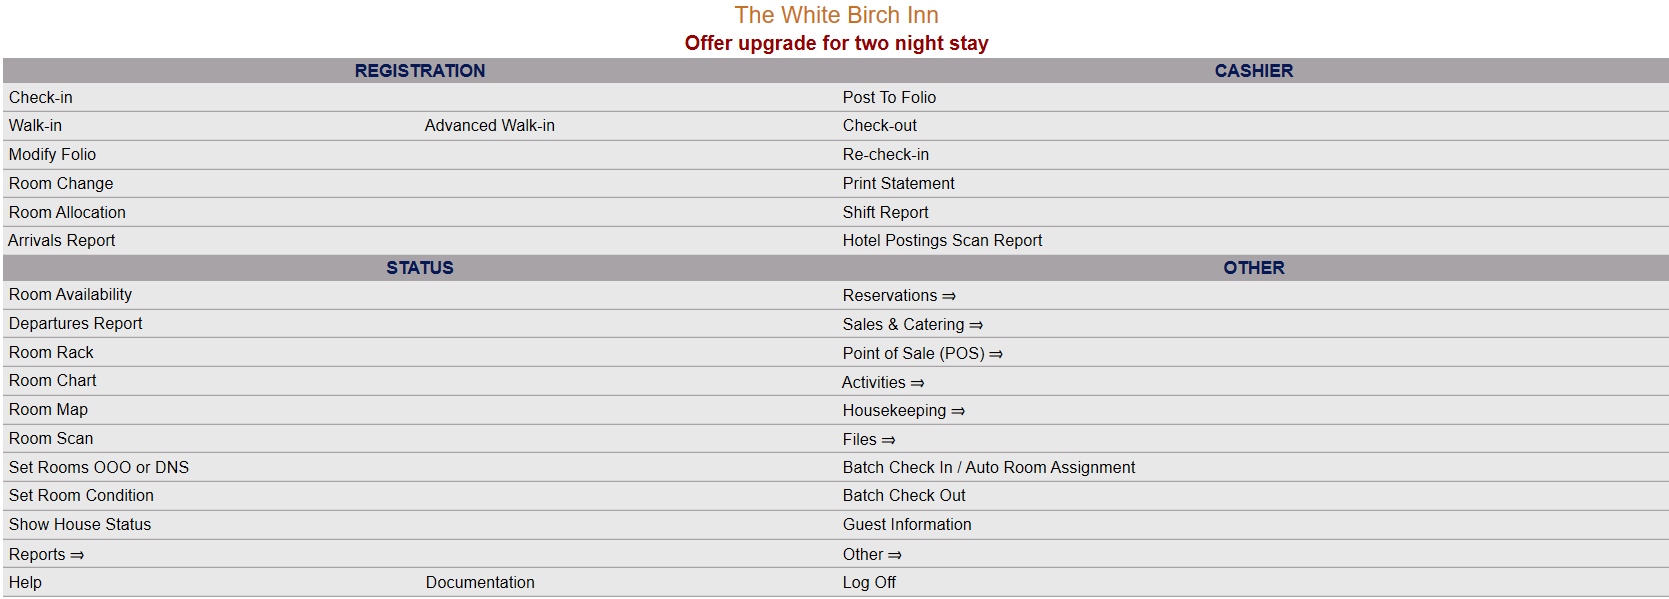
click Files => from the Other section of the Full Menu.
Select Files => from the Other section.
The Files Menu is divided into two sections, Files List 1 and Files List 2.
Select the Accounting => command from the Files List 2 section.
The Accounting Menu is divided into two sections, General and Reports.
Select the Accounts Receivable Statements (print) command from the Reports section:
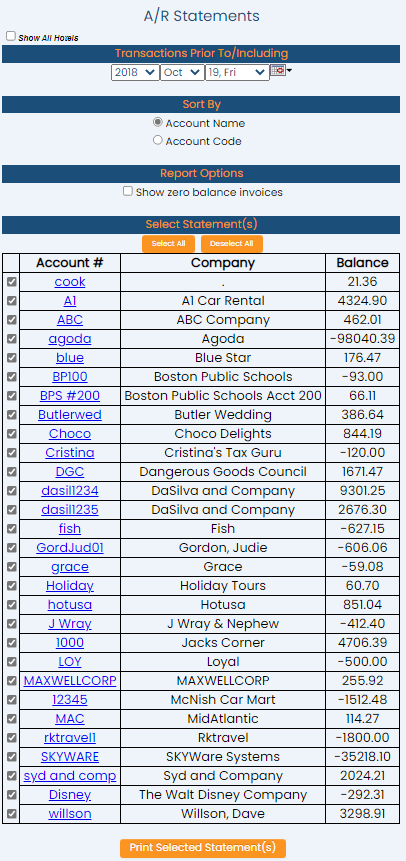
When the Accounts Receivable Statements (print) command is selected, the A/R Statements screen will open:
Any statements shown on this screen may be selected for printing.
Show All Hotels: This box may be checked or unchecked. By default it is unchecked, meaning the generated list will show information ONLY for the current Property. You may choose to show the information from ALL your Properties within Skyware, rather than viewing separate statement lists for each Property.
Transactions Prior To/Including: Select a Transaction Date for the statement list. This will make available all statements for that date and prior.
Use the drop-down menus or the calendar icon to select the Date you wish to have statements displayed to on the screen. By default the Date selected is today's Date.
Sort By: Select a Sort By option for the statement list. Choose ONE option using the radial buttons. The statements can be listed in order by Account Name or Account Code. By default Account Name is selected.
Report Options: Select whether to include Zero balance invoices in the statement list. The "Show zero balance invoices" check box may be checked or unchecked. By default it is unchecked.
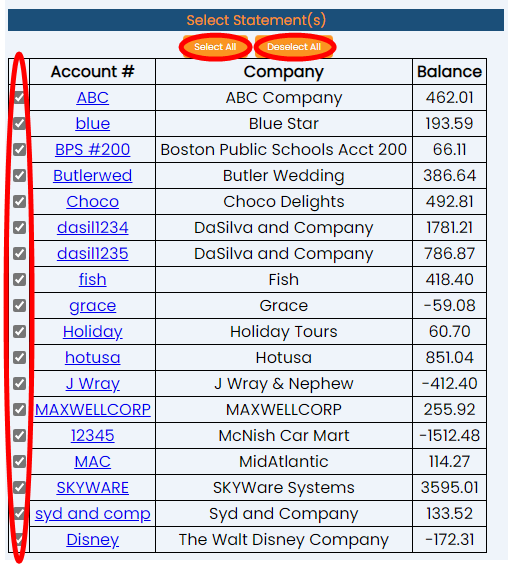
Select Statement(s): When any report option selections are made, the screen will automatically refresh with the list of matching statements. By default, all statements appear as selected. De-select the ones you do not wish to have printed. This section includes the orange buttons Select All and De-Select All which may be used for selection purposes; alternatively you can individually click each check box to select or de-select the associated statement.
When finished, click the orange button Print Selected Statement(s).
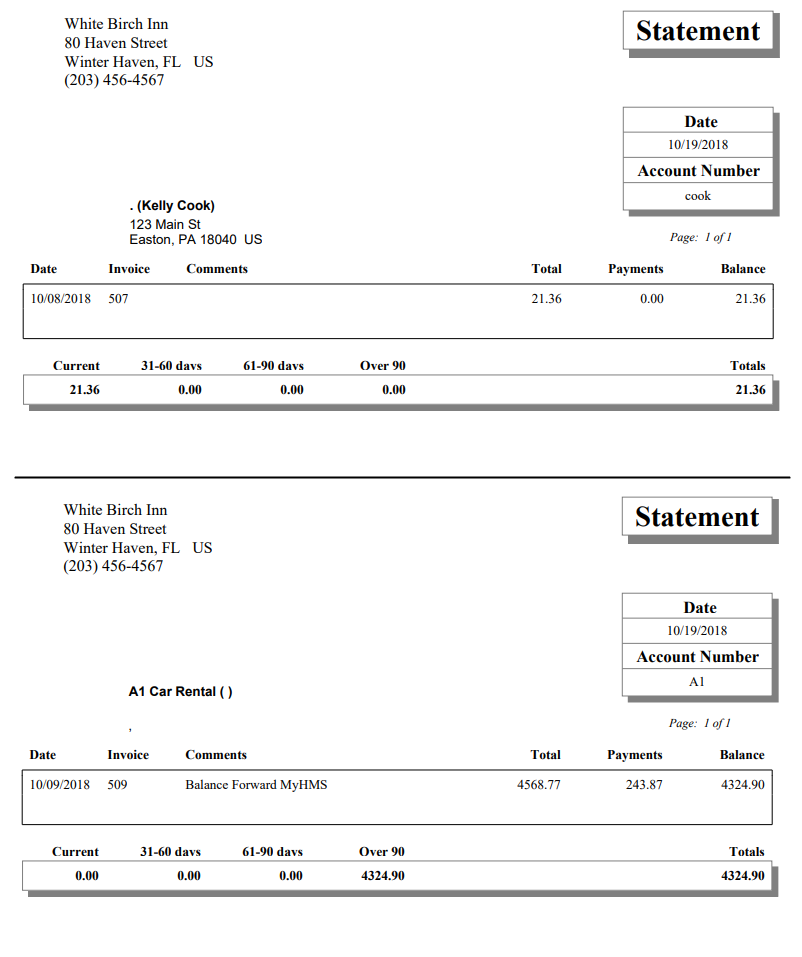
Each selected statement will be generated as a separate page in the report for printing. By default, the report is generated in PDF form and opens in a separate browser window.


